Databend is a next-generation cloud-native data warehouse developed in Rust. It is specifically designed for cloud architecture. Built on object storage, it offers businesses seamless integration with data lakes and warehouses while providing a big data analytics platform that separates compute from storage.
This document will guide you on how to import data from AutoMQ into Databend using bend-ingest-kafka.
Environment Preparation
Prepare Databend Cloud and Test Data
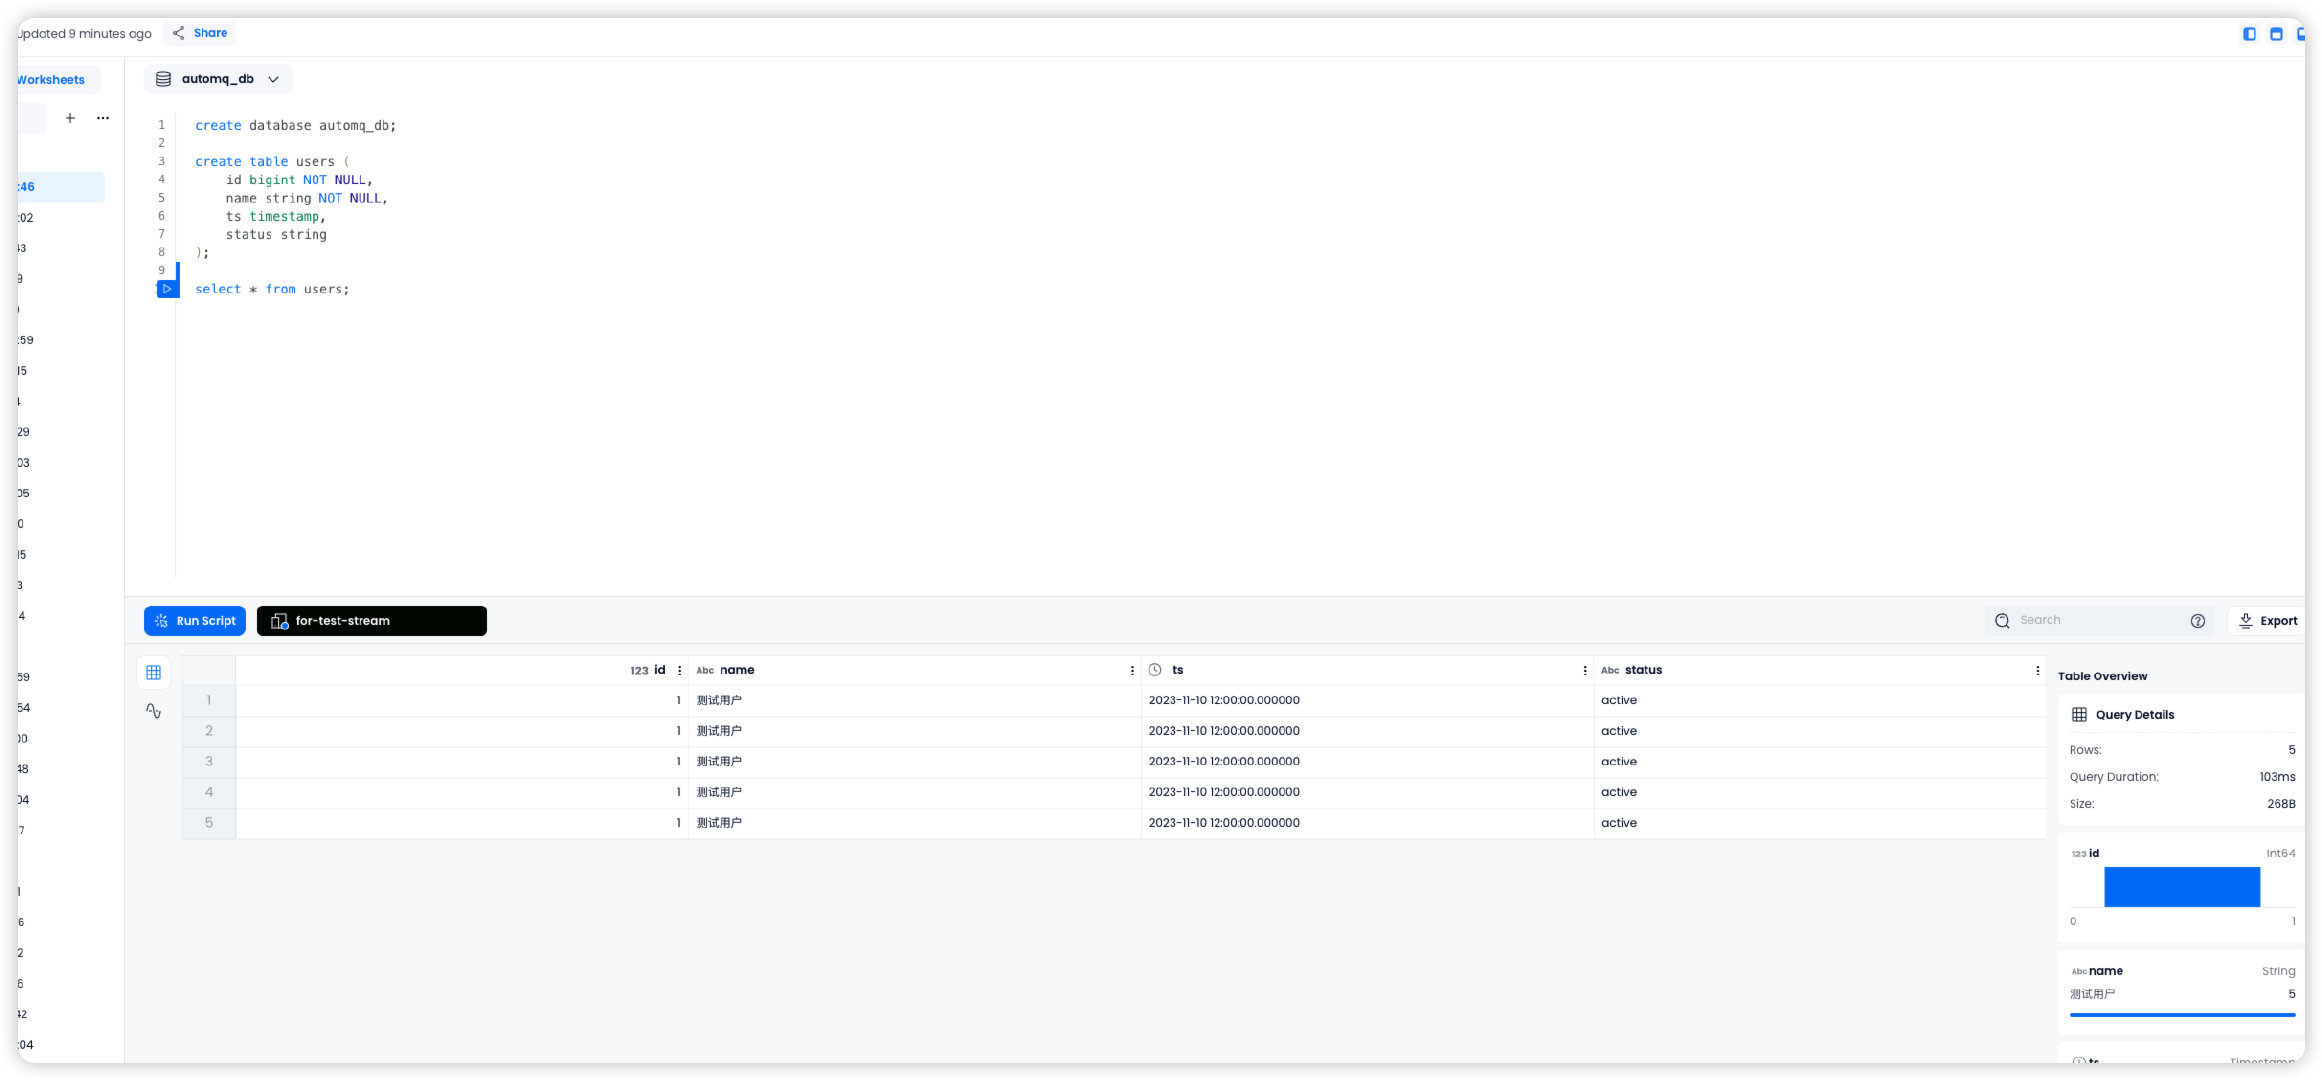
Firstly, visit Databend Cloud to initiate a Warehouse. Then, create databases and test tables within the worksheet.
create database automq_db;
create table users (
    id bigint NOT NULL,
    name string NOT NULL,
    ts timestamp,
    status string
)
Prepare AutoMQ and Test Data
Refer to Deploy Multi-Nodes Cluster on Linux▸ to set up AutoMQ, making sure there’s network connectivity between AutoMQ and Databend.
Quickly create a topic named example_topic in AutoMQ and write test JSON data into it by following these steps.
Create Topic
Utilize Apache Kafka command-line tools to create a topic. Ensure you have access to the Kafka environment and that the Kafka service is running. Below is an example command for creating a topic:
./kafka-topics.sh --create --topic exampleto_topic --bootstrap-server 10.0.96.4:9092 --partitions 1 --replication-factor 1
When executing commands, replace topic and bootstrap-server with the actual Kafka server addresses.
./kafka-topics.sh --describe example_topic --bootstrap-server 10.0.96.4:9092
Generate Test Data
Generate test data in JSON format that corresponds to the previously mentioned table.
{
  "id": 1,
  "name": "Test User",
  "timestamp": "2023-11-10T12:00:00",
  "status": "active"
}
Write Test Data
Use Kafka’s command-line tools or programming methods to write test data into a topic named example_topic. Here is an example using command-line tools:
echo '{"id": 1, "name": "Test User", "timestamp": "2023-11-10T12:00:00", "status": "active"}' | sh kafka-console-producer.sh --broker-list 10.0.96.4:9092 --topic example_topic
When executing the command, replace the topic and bootstrap-server with the actual Kafka server address being used.
sh kafka-console-consumer.sh --bootstrap-server 10.0.96.4:9092 --topic example_topic --from-beginning
Create a Bend-ingest-databend Job
bend-ingest-kafka is designed to monitor Kafka and batch write data into a Databend Table. After deploying bend-ingest-kafka, the data import job can be initiated.
bend-ingest-kafka --kafka-bootstrap-servers="localhost:9094" --kafka-topic="example_topic" --kafka-consumer-group="Consumer Group" --databend-dsn="https://cloudapp:password@host:443" --databend-table="automq_db.users" --data-format="json" --batch-size=5 --batch-max-interval=30s
When executing the command, replace kafka-bootstrap-servers with the actual Kafka server address you are using.
Parameter Description
databend-dsn
The DSN provided by Databend Cloud for connecting to the warehouse can be found in this documentation.
batch-size
bend-ingest-kafka will gather data until it reaches the specified batch size, then initiate a data synchronization process.
Verify Data Import
Navigate to the Databend Cloud worksheet and query the automq_db.users table. You should confirm that the data has been successfully synchronized from AutoMQ to the Databend Table.