
In this document, product service provider, service provider and AutoMQ all refer to AutoMQ HK Limited.
Prerequisites
Before you can create a Kafka instance, you must complete the environment installation. If you have not done so, please follow this guide:Create an Instance
To get started with AutoMQ, you first need to create an instance, which is equivalent to an open-source Apache Kafka cluster. You can create an instance using the web interface in the environment console. The console handles the provisioning of underlying cloud resources and the deployment of the instance software for you. Follow these steps:- Navigate to your environment console’s URL to open the console.
- In the console, select Instances List from the left navigation panel.
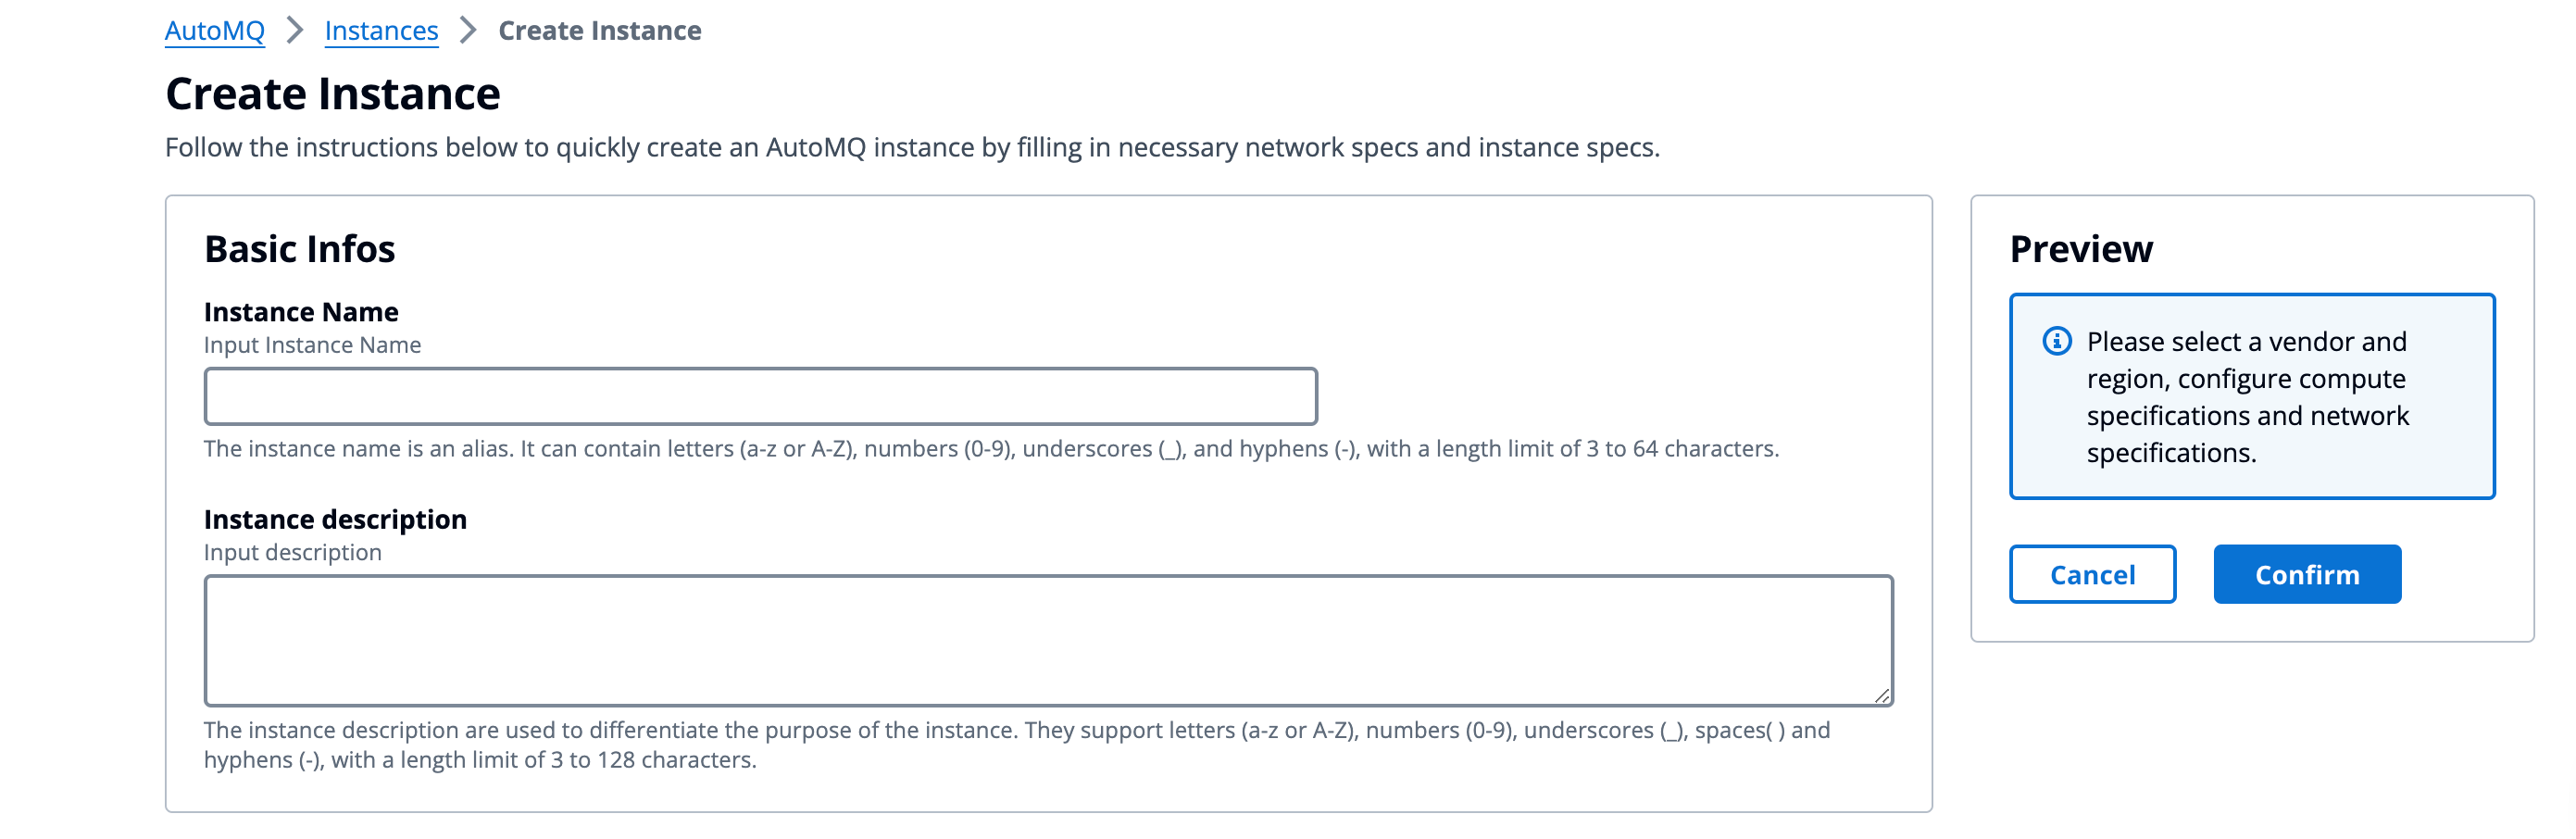
- Click New Instance and configure the parameters as described below.
| Parameter | Description |
|---|---|
| Instance Name |
|
| Instance Remark |
|
| Availability Zone Information |
|
| Subnet Information |
|
| Compute Specification |
|
| Storage Specification |
|
- Click Create Instance and wait for the instance to be created.
Send and receive messages
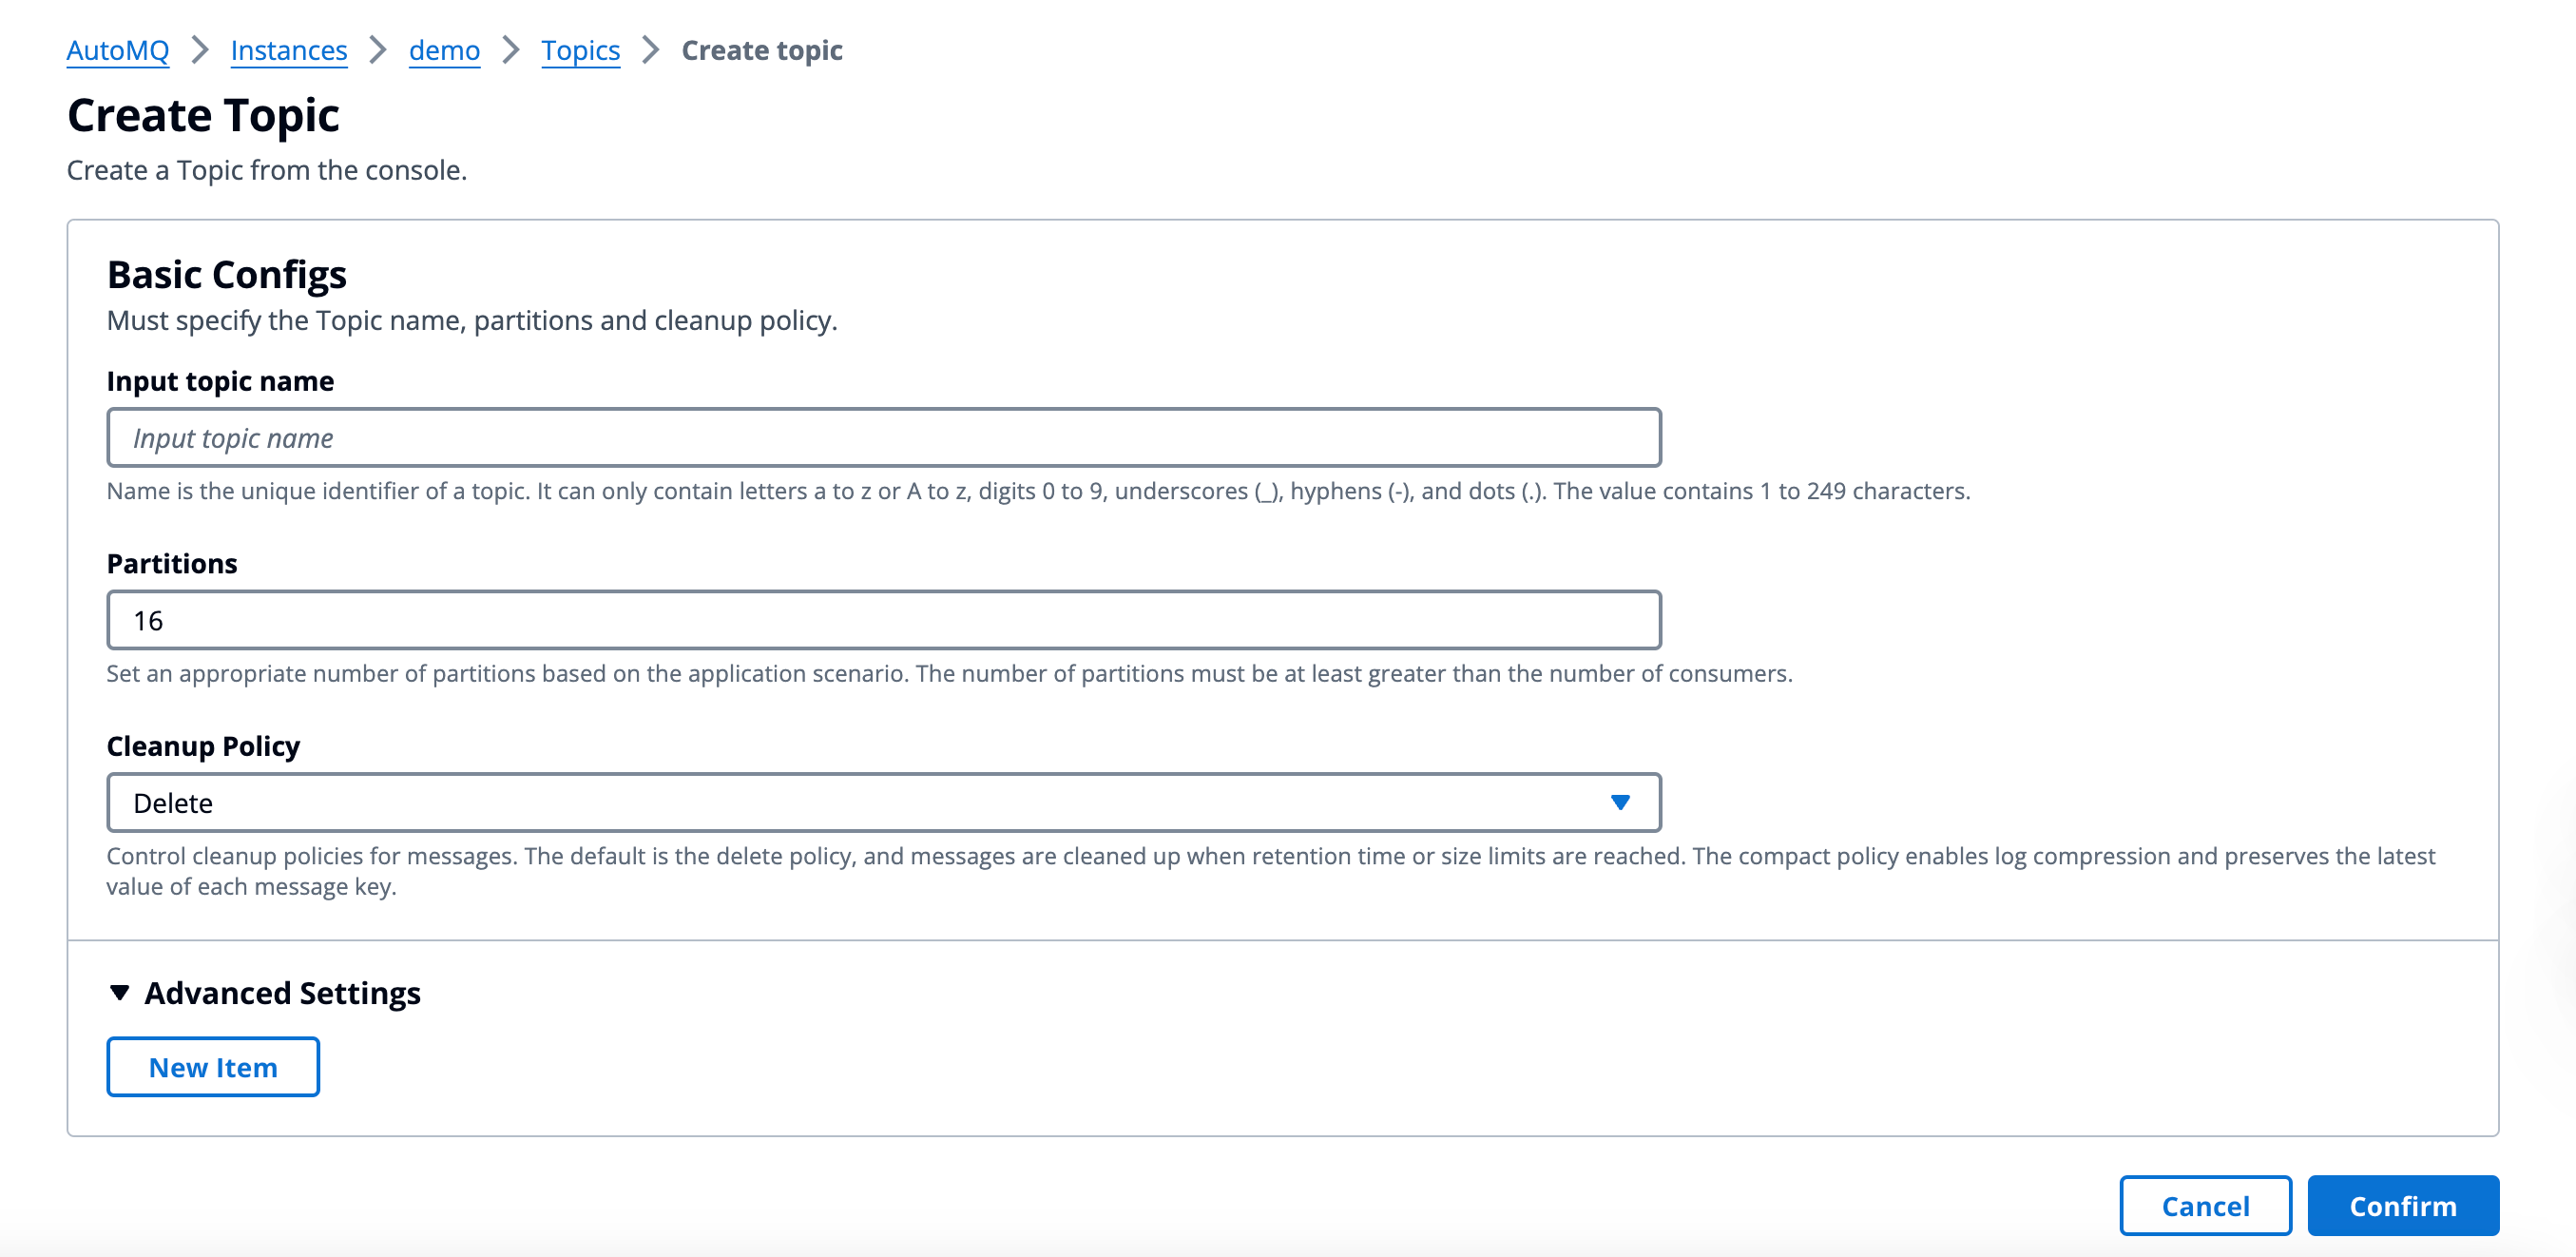
After your instance is created, you can create a topic to send and receive messages. Follow these steps:- Click on the instance name to view its details, then select Topics from the left navigation panel.
- Click Create New Topic, fill in the required parameters, and create the topic.
- Click the topic name to view its details, then select the Produce Messages tab.
- Enter your test message content and click Send. You have successfully produced a message.
Next Steps
This quickstart covers the basic steps for creating an environment and an instance. Since AutoMQ is fully compatible with Apache Kafka, you can refer to the official Apache Kafka documentation for guidance on more advanced operations.Appendix: Accessing AutoMQ Across VPCs
By default, AutoMQ instances use PrivateDNS for domain name resolution, making them accessible only via private network addresses within the same VPC. To access an AutoMQ instance from a different VPC, you must configure your network to meet the following requirements:- Requirement 1: VPC Peering: Connect the AutoMQ VPC and the application VPC using VPC Peering or a similar network connection method. Refer to your cloud provider’s documentation for instructions on setting up VPC Peering.
- Requirement 2: Shared Private Zone: By default, AutoMQ’s domain name resolution is handled by a Private Zone scoped to its own VPC. To enable cross-VPC resolution, you must associate this Private Zone with your application’s VPC.
Configure a Private Zone for multi-VPC access
- AWS Route53
Follow these steps to associate a Route 53 private hosted zone with multiple VPCs.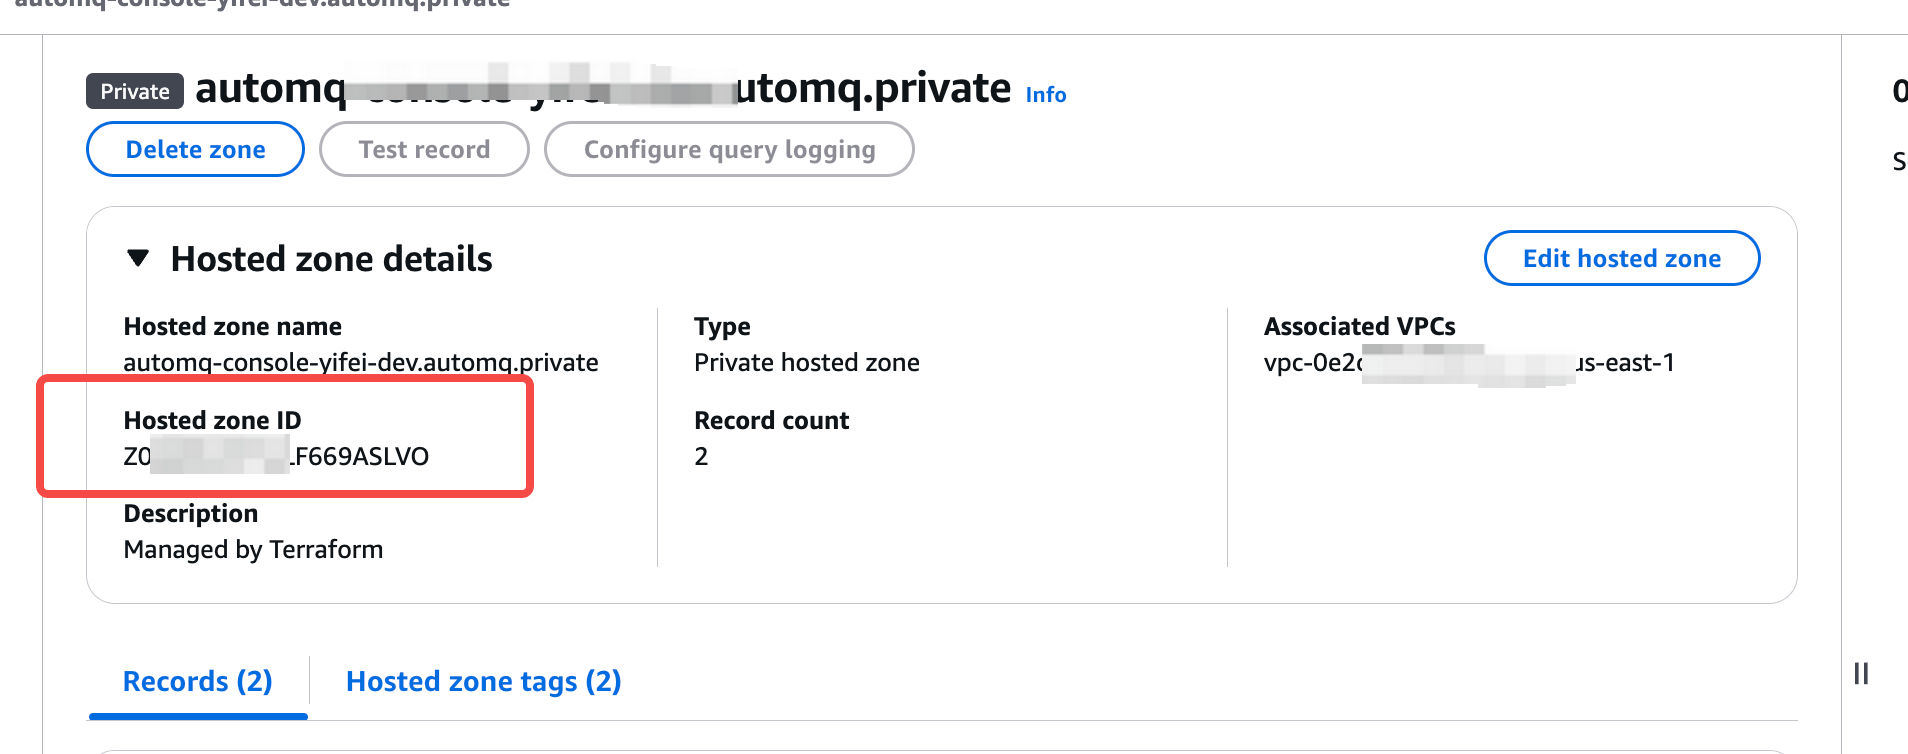
- Find the Private Hosted Zone ID.
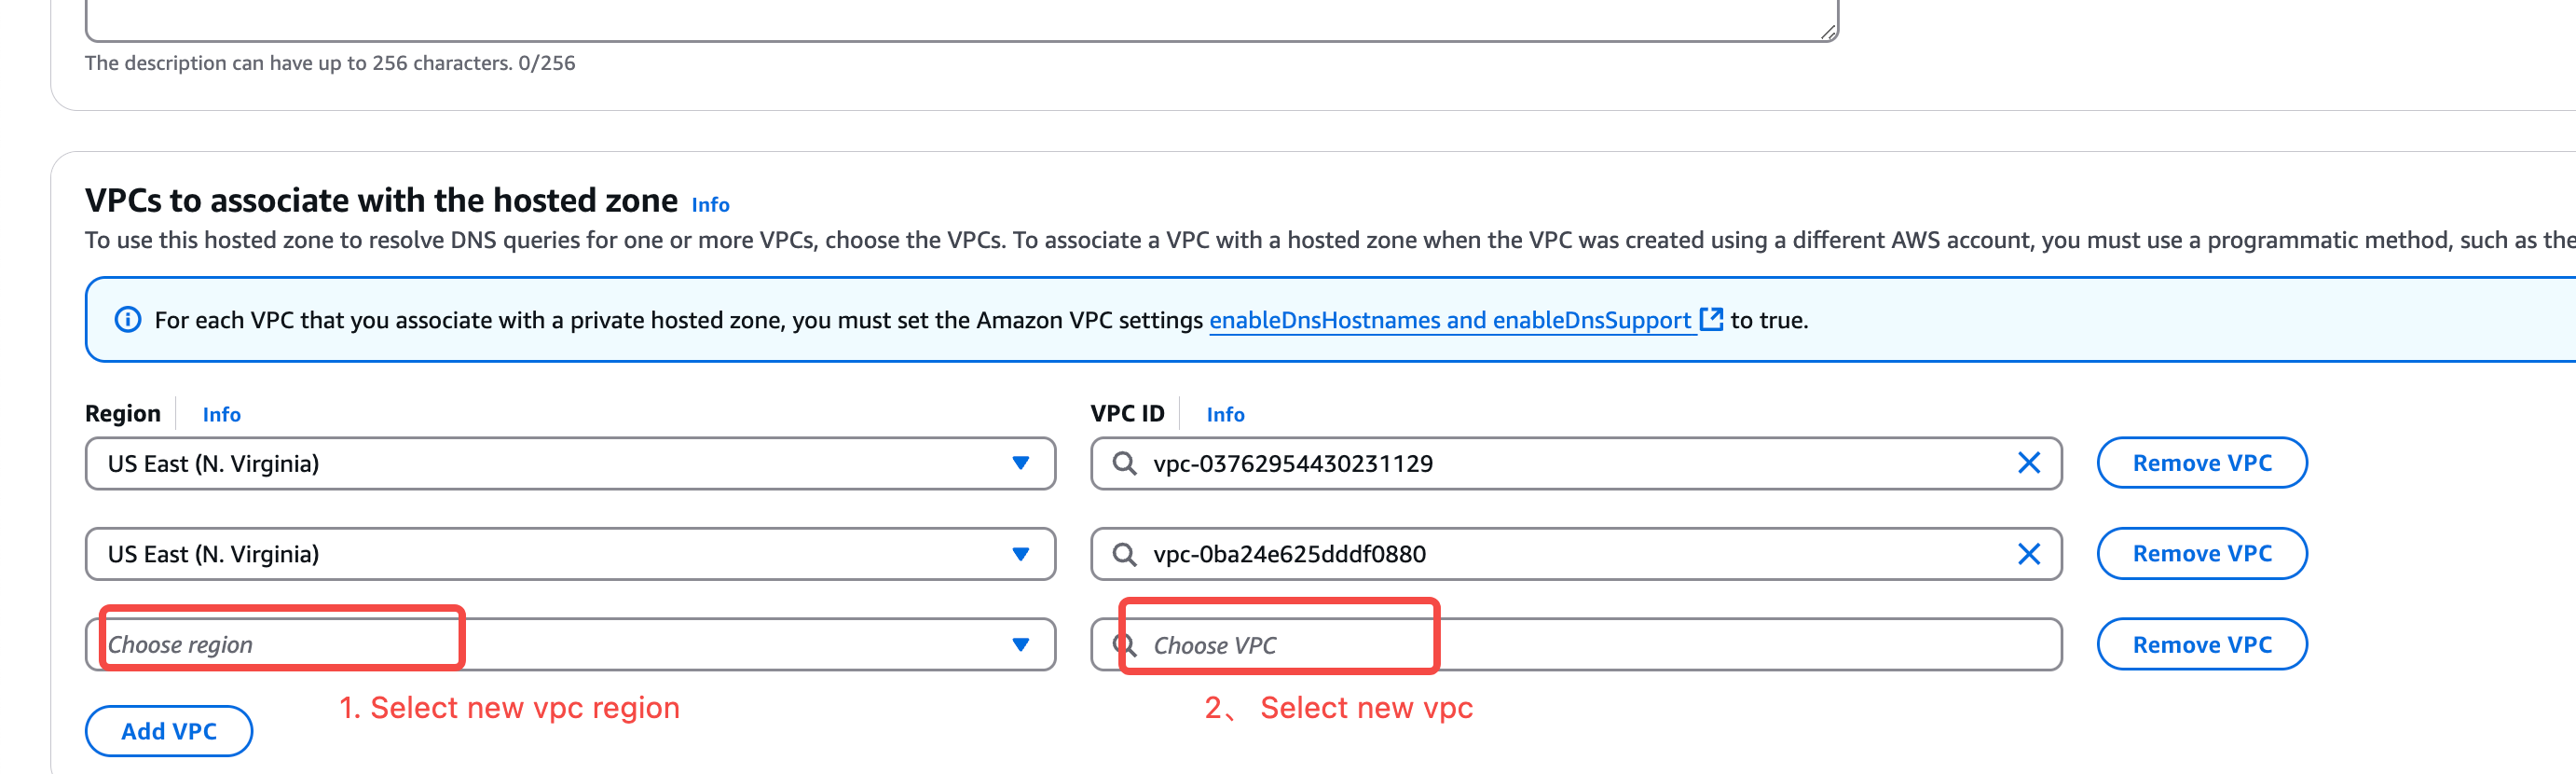
- Scenario 1: Associate a VPC from the same AWS account.
- Scenario 2: Associate a VPC from a different AWS account.
vpc-a (account A), and you want to associate it with vpc-b (account B). Follow these steps:In account A, authorize the VPC association.- hosted-zone-id: enter the Zone ID of the Zone used by AutoMQ in account A.
- vpc: Provide the VPC information for account B, which must be encoded in the format “VPCRegion=XXXX,VPCId=XXXX”.
- hosted-zone-id: Enter the Zone ID of the AutoMQ zone used by account A.
- vpc: Fill in the VPC information for account B. It must be formatted as “VPCRegion=XXXX,VPCId=XXXX”.