Install Env Via Terraform Module
Refer to Overview▸, using AutoMQ Cloud requires the installation of the environment first. This article explains how to install a BYOC environment using a Terraform Module.
In this article, references to AutoMQ Product Service Provider, AutoMQ Service Provider, and AutoMQ specifically refer to AutoMQ HK Limited and its subsidiaries.
Operational Process
Step 1: Prepare the VPC
The AutoMQ BYOC environment is deployed within the user’s VPC to ensure data privacy and security. When installing the AutoMQ environment using Terraform, the following methods are supported:
-
Automatically create a new VPC installation environment: Selecting this option will have the installer automatically create the VPC and other resources without the need for manual configuration by the user. This is recommended for initial POCs and testing.
-
User-provided VPC installation environment: The installer will not proactively create a VPC network. The user specifies the existing VPC network and subnet information.
If you choose User-provided VPC installation environment, the VPC must meet the following conditions:
Zone requirements: Depending on business needs, if a three-zone instance needs to be created subsequently, at least three zones and subnets need to be allocated.
Subnet CIDR requirements: The AutoMQ data plane cluster uses the user VPC for deployment, which will consume the VPC subnet IPs. It is recommended to allocate sufficient available IPs in each subnet (at least 1,000 available IPs per subnet) to avoid future deployment and expansion issues.
Public Network Requirements: Deploying AutoMQ data plane clusters requires pulling Docker images and Helm Chart artifacts from the public network environment. Therefore, the VPC environment needs to support internet access via SNAT or other methods. For instructions on configuring public SNAT, please refer to the appendix of this document Install Env via Huawei Marketplace▸.
Step 2: Invoke the AutoMQ Terraform Module to Install the Environment
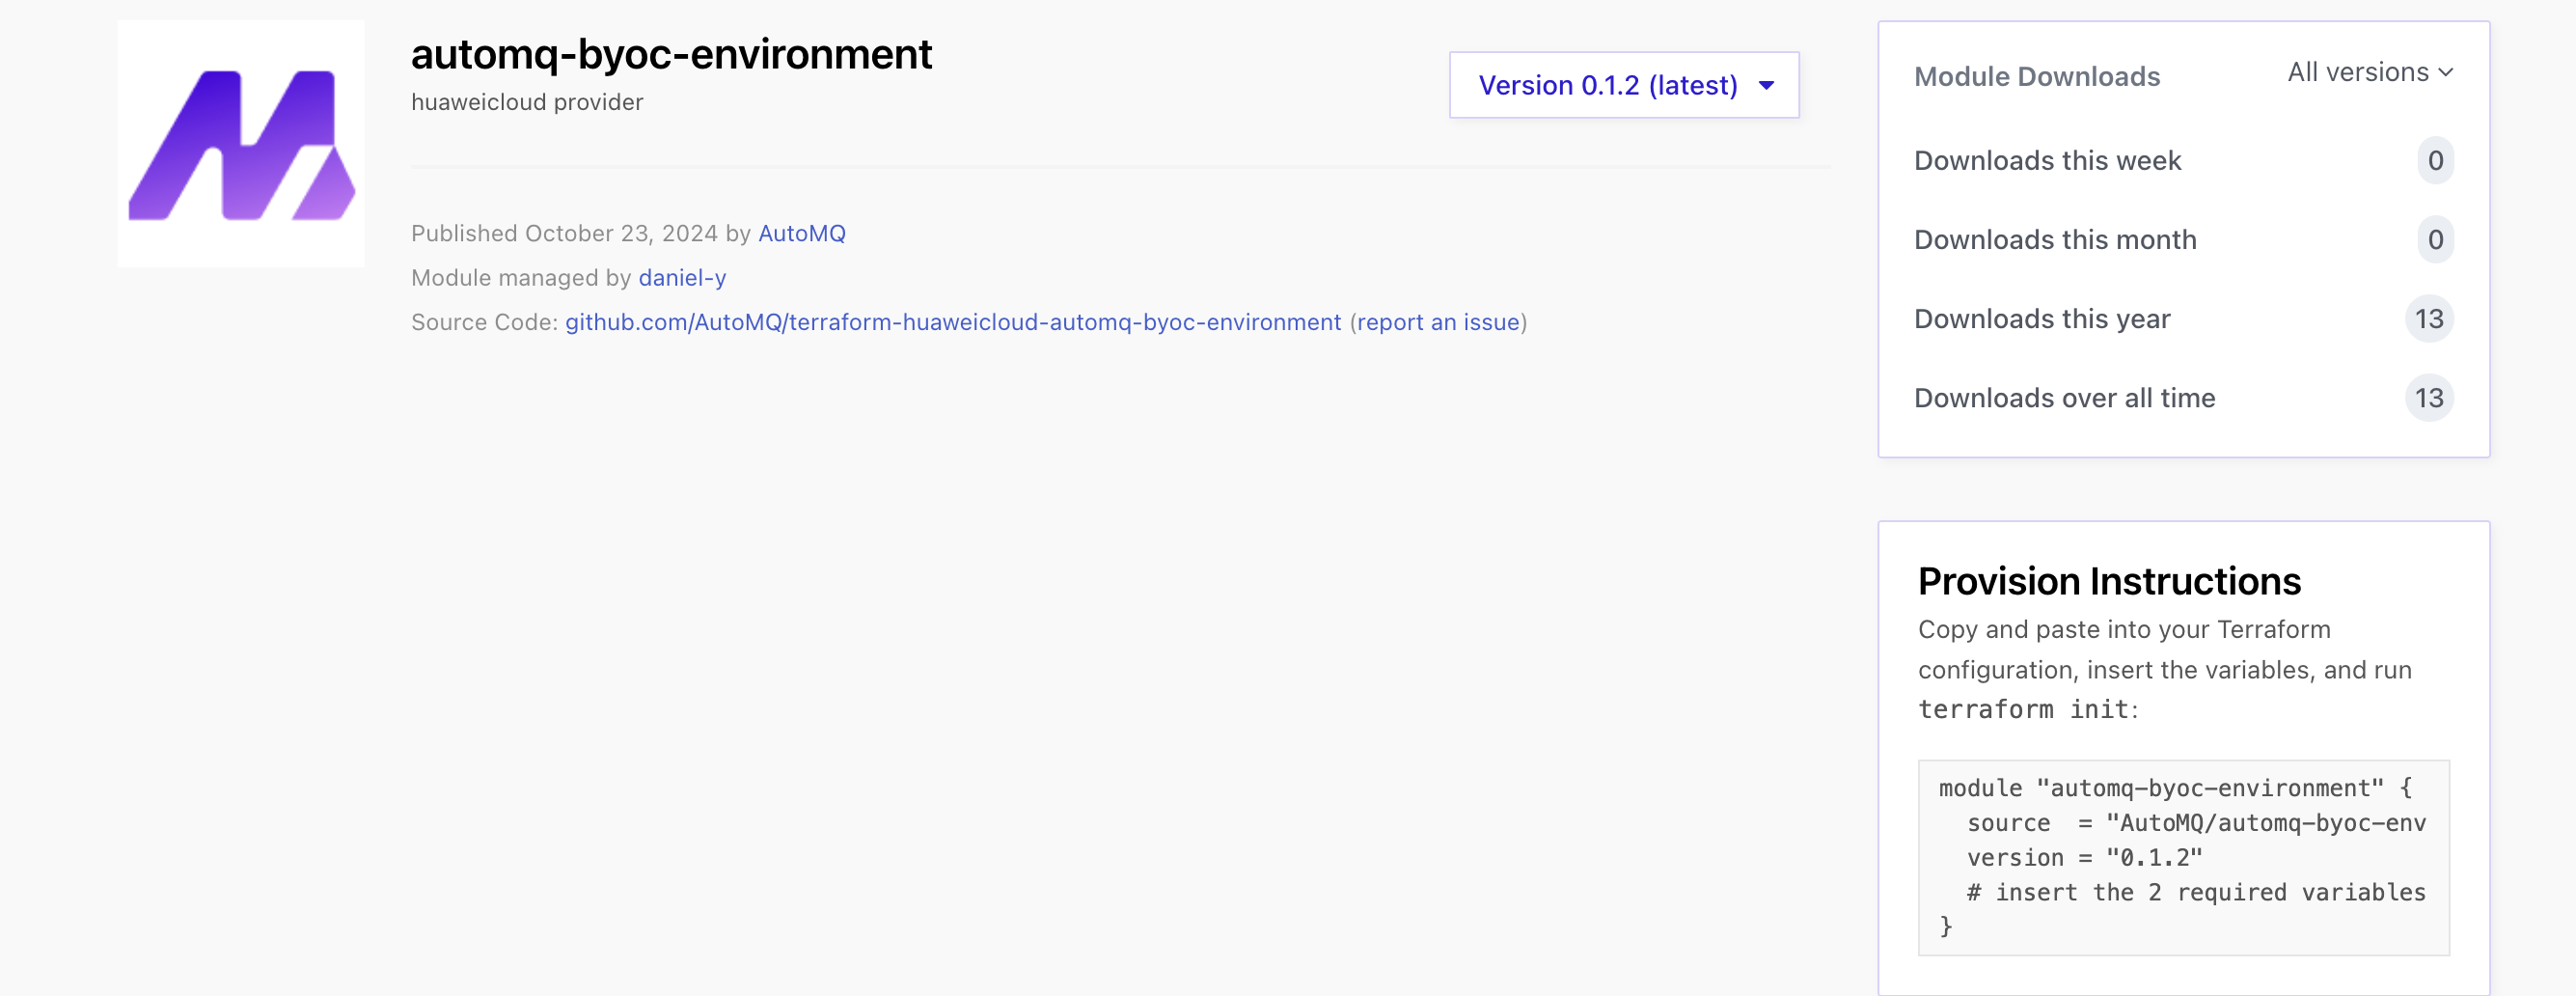
Before using the Terraform Module to install the BYOC environment, it is recommended to select (or upgrade to) the latest module version according to the documentation and then integrate the AutoMQ Terraform Module for environment installation and deployment.
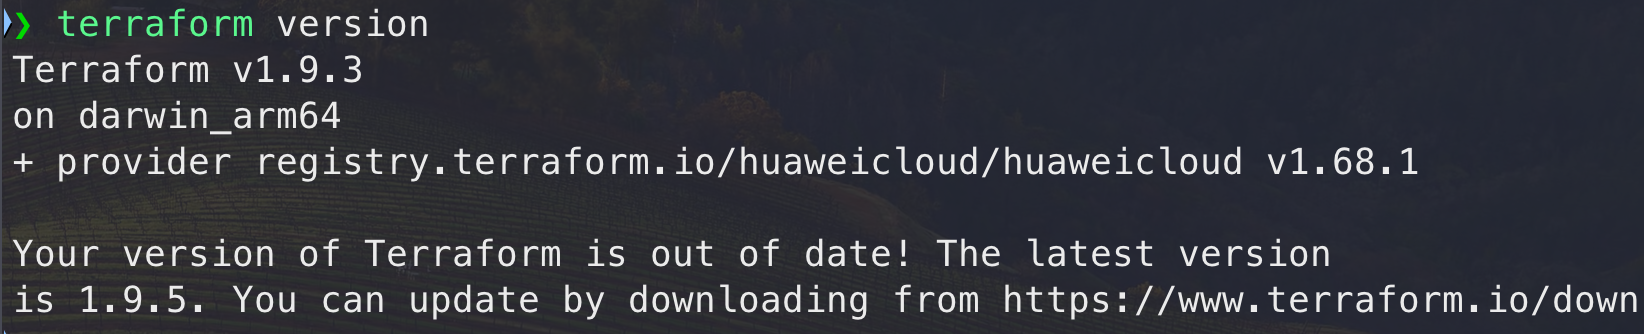
- Install the Terraform CLI tool in your local environment; confirm the version output after installation.
- Configure a Huawei Cloud account. You can use a sub-account and grant permissions. Configure AK, SK for installation execution.
export HW_ACCESS_KEY='set the cloud account's ak'
export HW_SECRET_KEY='Set the cloud account sk'
- Create an automq_byoc_env folder and within it, create a
main.tffile. A simple example code to install the BYOC environment is as follows:
module "automq_byoc" {
  source = "AutoMQ/automq-byoc-environment/huaweicloud"

  # Set the Identifier for the Environment to Be Installed. This ID Will Be Used for Naming Internal Resources. the Environment ID Supports Only Uppercase and Lowercase English Letters, Numbers, and Hyphens (-). It Must Start with a Letter and Is Limited to a Length of 32 Characters.
  automq_byoc_env_id                       = "xxxxxxxxxx"

  # Set the Target RegionId of Huaweicloud
  cloud_provider_region                    = "cn-east-3"

  create_new_vpc = true

 }

 # Necessary Outputs
output "automq_byoc_env_id" {
  value = module.automq_byoc.automq_byoc_env_id
}

output "automq_byoc_endpoint" {
  value = module.automq_byoc.automq_byoc_endpoint
}

output "automq_byoc_initial_username" {
  value = module.automq_byoc.automq_byoc_initial_username
}

output "automq_byoc_initial_password" {
  value = module.automq_byoc.automq_byoc_initial_password
}

output "automq_byoc_vpc_id" {
  value = module.automq_byoc.automq_byoc_vpc_id
}

output "automq_byoc_instance_id" {
  value = module.automq_byoc.automq_byoc_instance_id
}
For the complete documentation, visit AutoMQ Terraform Modules Repository, and refer to the corresponding README document to execute the creation operations.
- Execute the
terraform initcommand within that folder to complete the initialization.
❯ terraform init
Initializing the backend...
Initializing modules...
Downloading registry.terraform.io/AutoMQ/automq-byoc-environment/huaweicloud 0.1.1 for automq_byoc...
- automq_byoc in .terraform/modules/automq_byoc
Initializing provider plugins...
- Reusing previous version of huaweicloud/huaweicloud from the dependency lock file
- Using previously-installed huaweicloud/huaweicloud v1.68.1
...
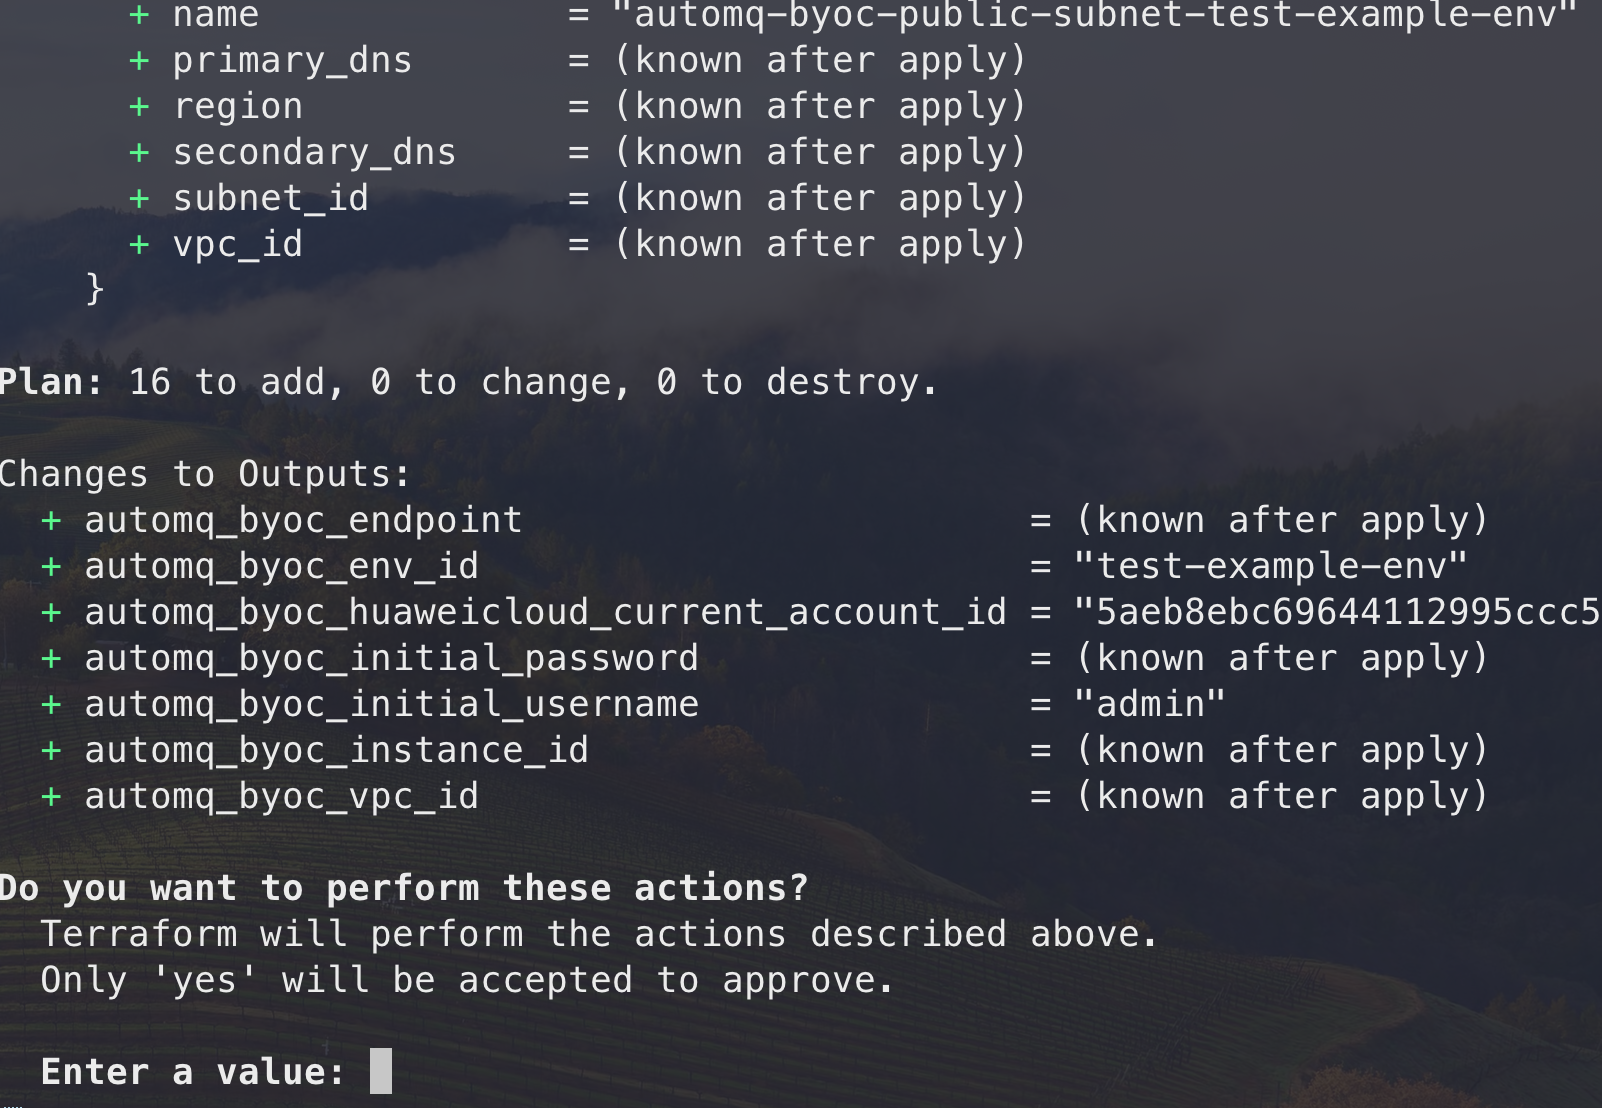
- Execute
terraform applyto view the planned cloud resources to be created. Enteryesto proceed with the actual creation process.
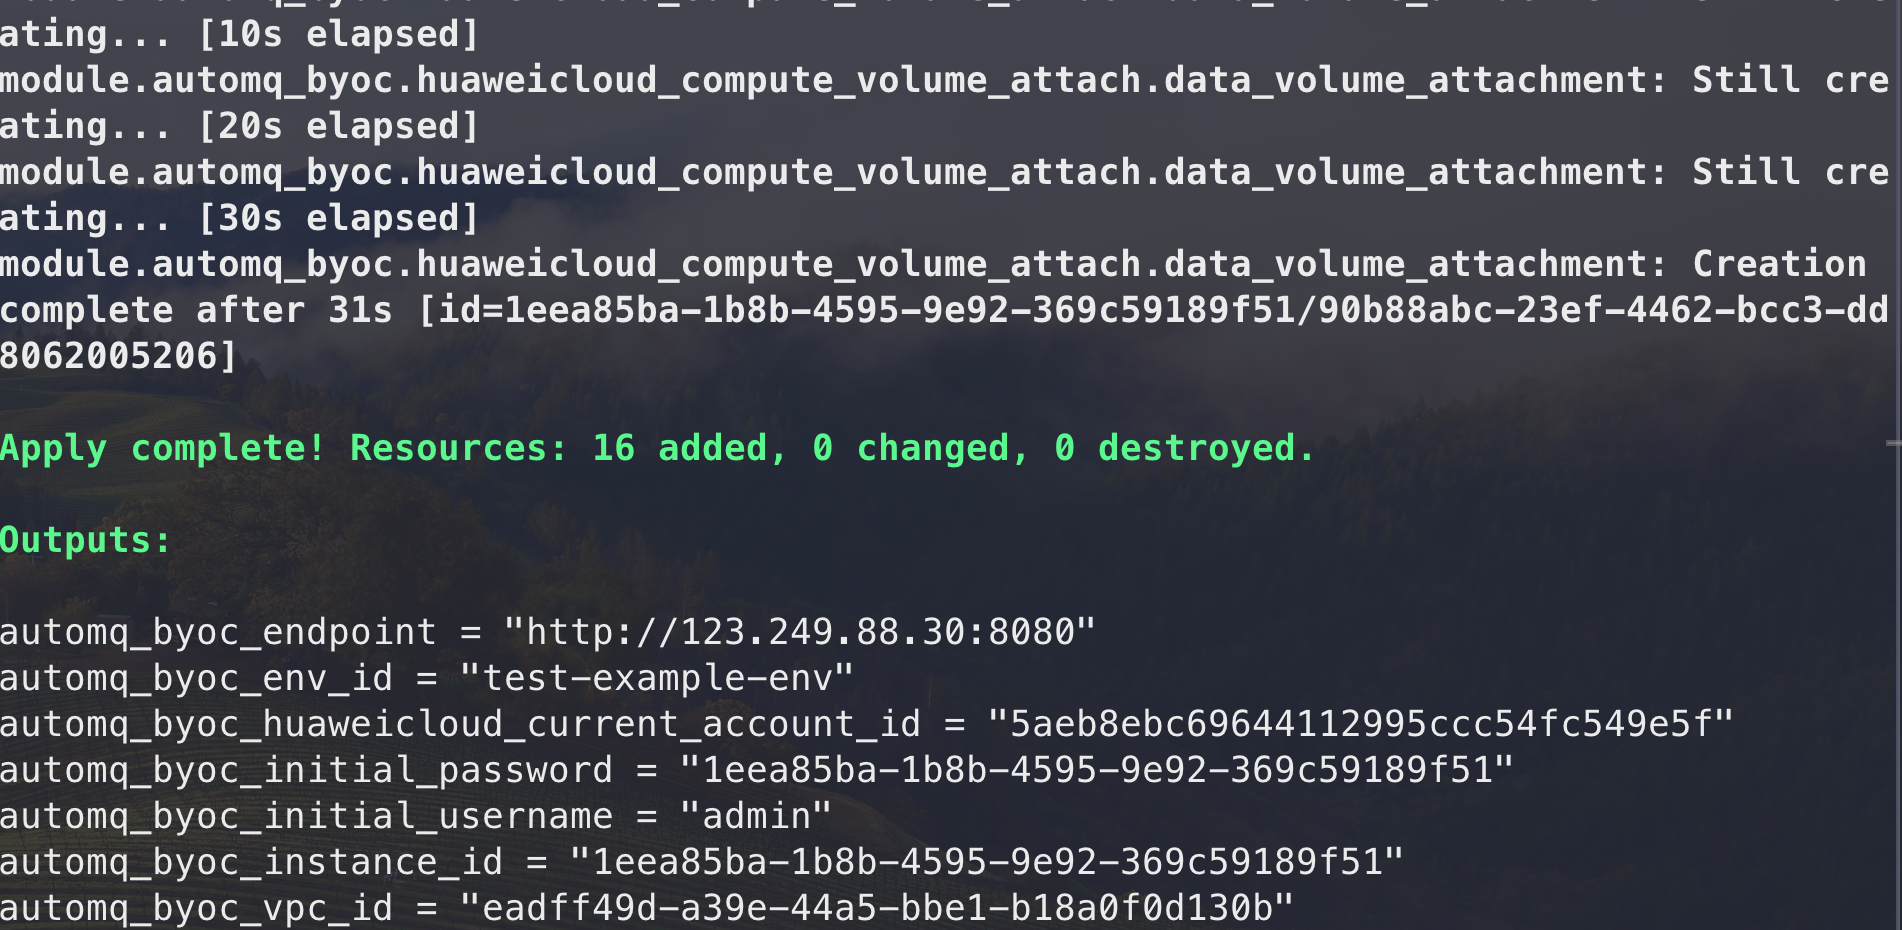
- Wait for approximately 1-2 minutes. Terraform will create the environment cloud resources and provide the environment access point along with the initial account credentials.
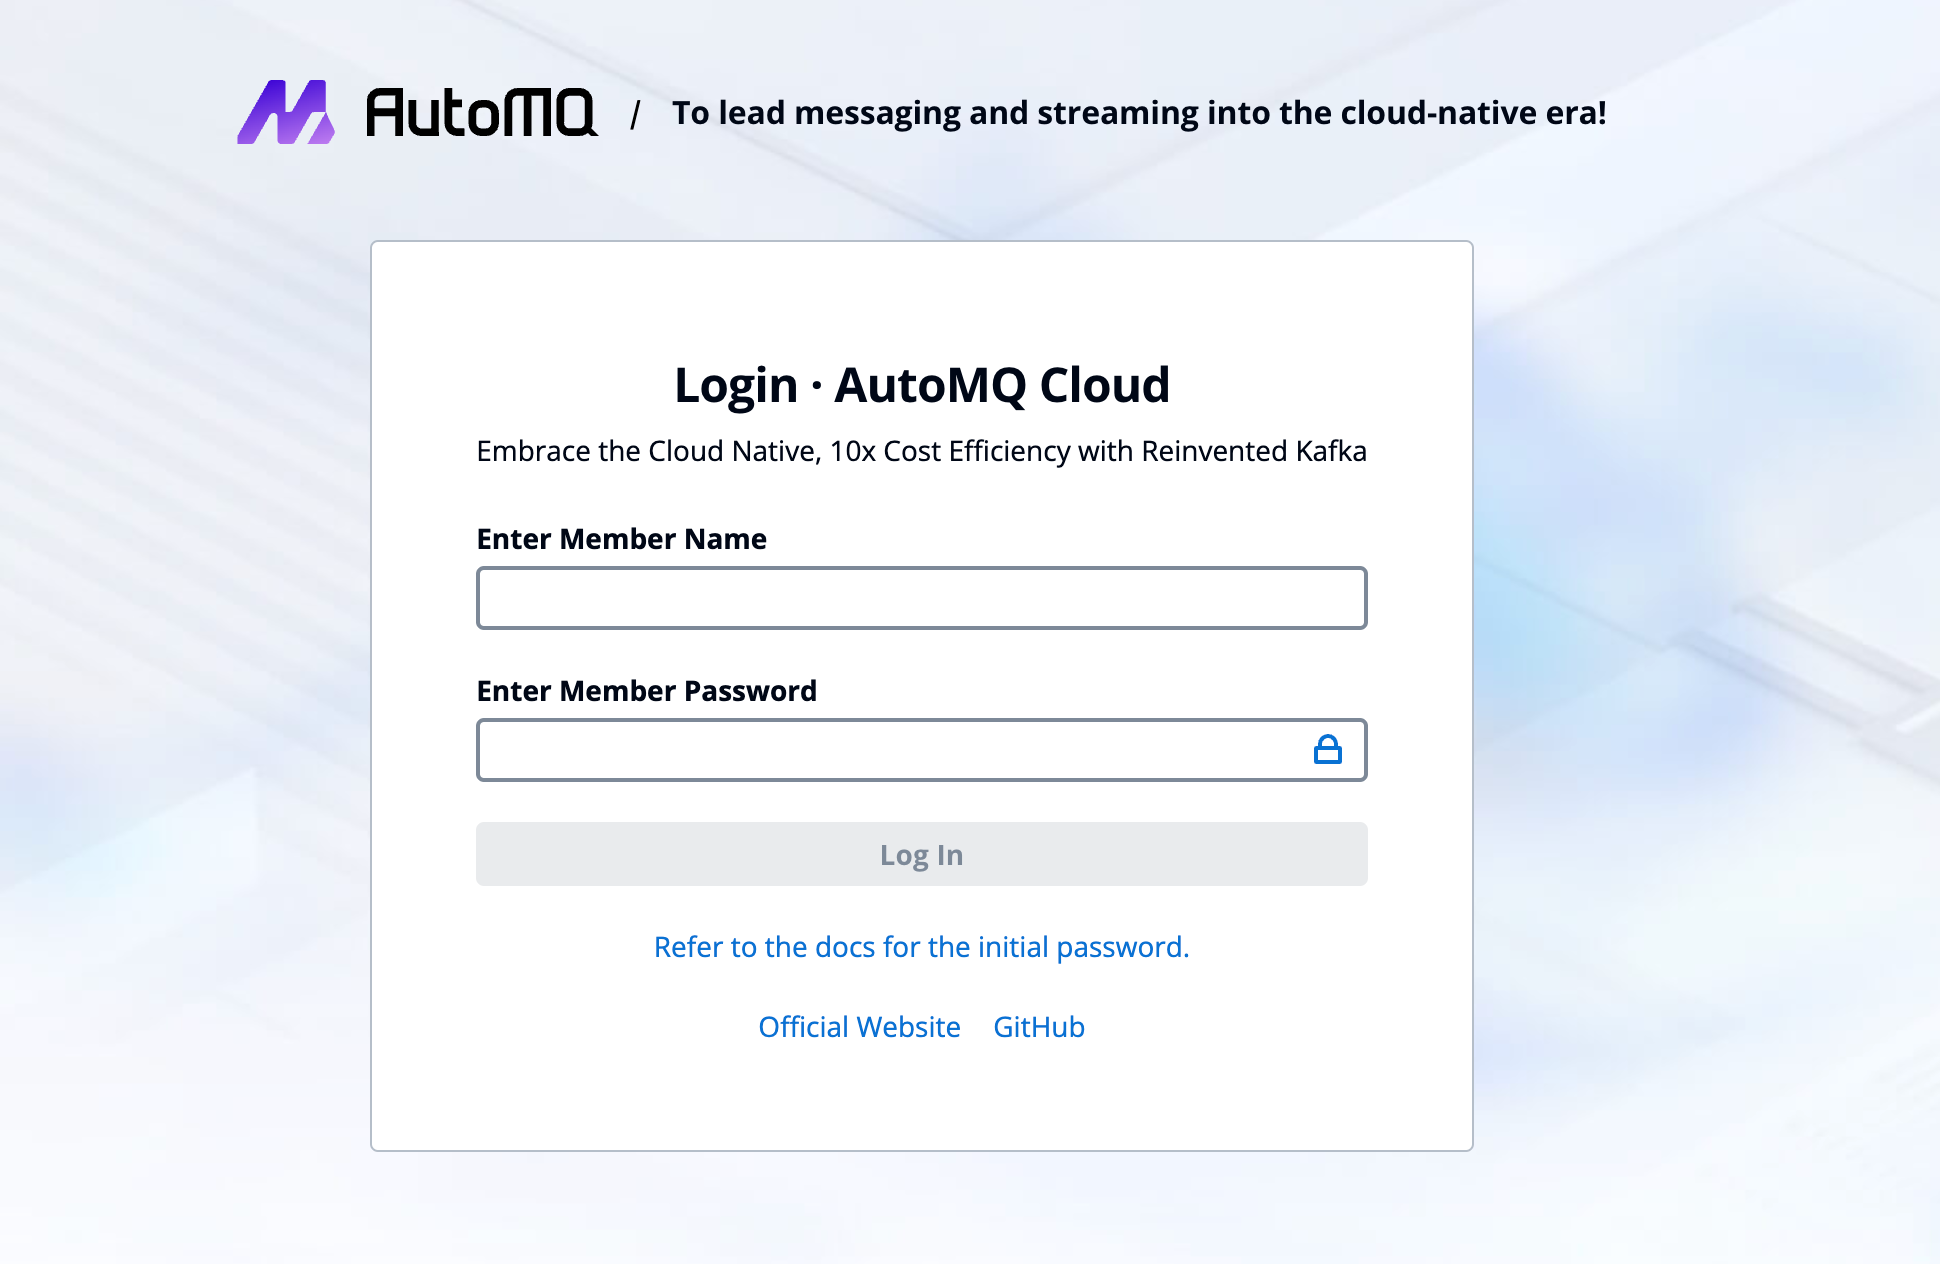
- Access the environment console, log in using the initial account credentials provided by terraform, and change the password to a custom one.
Step 2: Complete the BYOC Environment Operations Authorization
The BYOC environment is deployed in the user's VPC, ensuring data security and privacy isolation. However, internal system logs, metrics, and other non-business system data will be generated within the BYOC environment. After the environment installation is complete, users need to reference Overview▸ to grant operational authorization to the AutoMQ service provider, facilitating stability monitoring, fault self-healing, and other maintenance operations.
Next Steps
-
Configure CCE: After installing the BYOC environment console, users need to prepare the CCE cluster first, then configure it in the AutoMQ console, deploying the AutoMQ cluster to the CCE. For documentation on preparing CCE and subsequent deployment, please refer to Deploy to HuaWei Cloud CCE▸.
-
Using AutoMQ via Terraform: After the environment installation is complete, users can manage and use AutoMQ through the AutoMQ Terraform Provider. For detailed guidance on using AutoMQ via Terraform, please refer to the documentation.
-
Use AutoMQ via WebUI: Access the console address via a browser and log in with the initial username and password to enter the environment console and experience the product features. Experience AutoMQ▸
Note:
This document is only for installing the AutoMQ console. After completing the console installation, you need to configure the CCE cluster before creating an AutoMQ instance (cluster). To configure the CCE cluster, please refer to Deploy to HuaWei Cloud CCE▸.